Stainless steel tile trims anchor polished tile designs with clean edges, long-lasting performance, and a touch of elegance. Whether you’re a DIY fan, a skilled contractor, or a dedicated renovator, gaining mastery of how to cut, fix, and preserve stainless steel tile trims ensures results that last. This guide will help you cut precisely, affix reliably, and maintain tile trims with confidence.
1. Cutting Stainless Steel Tile Trims
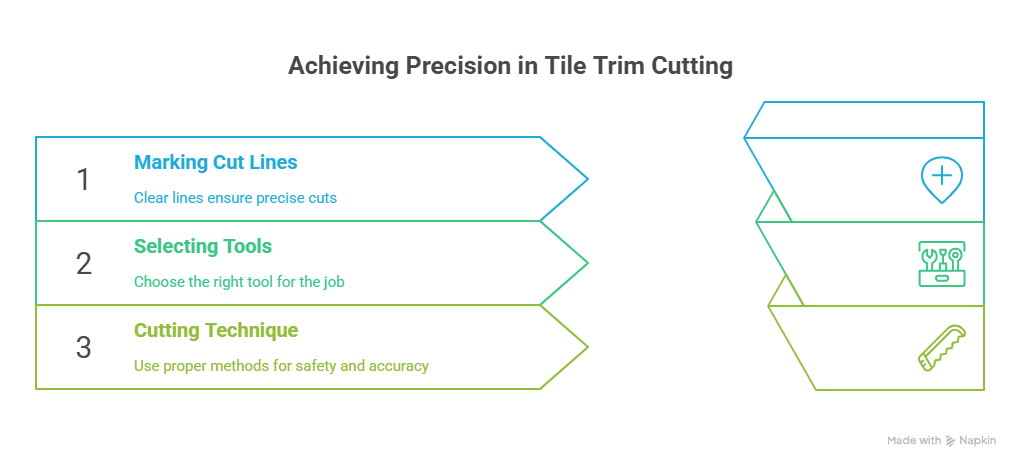
Measure Twice, Cut Once
Effective precision starts with careful measuring. Take both tile thickness and grout spacing into account to avoid misalignment or uneven joints. Even minor miscalculations can throw off your final alignment, creating gaps or overlaps. Use a reliable tape measure and always double-check dimensions before making any cuts. This extra step can save time, materials, and costly do-overs.
Marking and Angling Right
Use a fine-tip marker to draw cut lines clearly on the trim’s surface. For clean corner joints using tile trims, apply a 45-degree angle with consistent marking—templates help maintain accuracy. A mitre box or square can ensure your markings stay precise. Angled cuts help the trims blend seamlessly at joints, creating a polished and professional appearance.
Tools of the Trade
An angle grinder with a blade designed for stainless steel delivers quick, neat results. It allows for high control and speed, making it ideal for straight and angled cuts. Alternatives like a hacksaw or mitre saw with a metal-cutting blade work too, though they may take longer and require more physical effort. Choose your blade based on trim thickness and your experience level.
Cutting Technique
Clamp the trim securely before cutting to avoid slippage and maintain control. When possible, use a mitre box to guide the cut for better accuracy. Work steadily and let the tool do the work rather than forcing the cut. Always wear protective gear such as safety glasses, gloves, and a dust mask as cutting stainless steel generates sharp particles.

2. Securing Stainless Steel Tile Trims the Right Way
Prepping the Surface
Ensure surfaces are clean, dry, and dust-free for reliable bonding, especially over drywall or cement board. A poorly prepared surface can cause the trim to shift or detach over time. Use a damp cloth to remove fine dust particles and allow it to dry fully before applying any adhesive or mortar. This simple preparation leads to longer-lasting results.
Adhesive Installation
Wall areas may use quality tile adhesive or construction-grade adhesive. Apply an even layer behind the trim and press it gently with a rubber mallet to fix it in place. Use a level to ensure it’s straight as the adhesive sets. Re-check positioning every few tiles to maintain consistency and prevent tilts.
Mechanical Clip Method
If your tile trims use clip systems, place clips every 30–45 cm, screw them in without overtightening, and snap the trim into place. This method offers flexibility and secure installation, especially in high-traffic areas. Make sure to use screws suitable for the wall or floor type to prevent loosening over time. The clip system is efficient but requires precision.
Embedding in Mortar or Cement
For floor trims or damp zones, embed the trim in wet mortar before tile laying. Press it gently, align flush with surrounding tiles, and remove any excess immediately. This method creates a strong bond ideal for moisture-prone spaces like bathrooms and kitchens. It also allows the trim to sit securely at tile level, preventing trip hazards or water ingress.
Final Touches
Apply matching caulk to seal edges and prevent moisture seepage. This finishing detail helps extend the life of both your tile and trims. Double-check alignment one last time and clean any adhesive or grout from the surface before it hardens. A tidy finish boosts visual appeal and ensures functionality.
3. Maintaining Stainless Steel Tile Trims
Routine Cleaning
Stick to gentle cleaners like mild dish soap and warm water that work best. Harsh or abrasive substances can damage the finish or dull the trim’s appearance. Clean weekly or biweekly depending on usage and exposure to dirt or water. Consistency is key to preserving the trim’s shine.
Polishing and Protection
Polishes made for stainless steel fine-tune the shine, while a vinegar-water mix offers an effective, simple alternative. Buff with a microfibre cloth to remove smudges and restore lustre. If your trims are near kitchen areas, clean grease or food splashes quickly to prevent staining. Regular polishing keeps your trims looking new.
Drying & Detailing
Dry trims immediately with a microfibre cloth post-cleaning to avoid water marks and preserve sheen. Avoid air-drying as minerals in water may cause spotting. Detail the corners and grooves to prevent residue build-up. This small habit maintains a spotless and professional look.
Periodic Inspections
Every few months, review trims for signs of wear, discolouration, or grout residue buildup. Lightly polish or reapply sealant if needed to maintain integrity. Early intervention prevents minor issues from turning into major repairs. Keep an eye on high-moisture areas like shower edges and kitchen backsplashes.
4. Common Mistakes to Avoid
Cutting without accurate measurements leads to mismatches that can ruin your project’s symmetry. Using the wrong blade dulls cuts and can leave jagged edges on stainless steel tile trims. Over-tightening clip systems may cause the metal to warp. Skipping regular maintenance allows dirt and moisture to degrade the trim’s appearance over time.
Conclusion
With the right knowledge and materials, achieving crisp, professional tile edges is entirely within reach. By following these cutting, installation, and care practices, you guarantee a project that’s both beautiful and built to last.
For trims that match your ambition, trust Lapiz Blue, a leading supplier of Profilpas’ metallic and PVC tile trims across Dubai, Sharjah, and the U.A.E. Contact us now for tailored advice and premium solutions!

