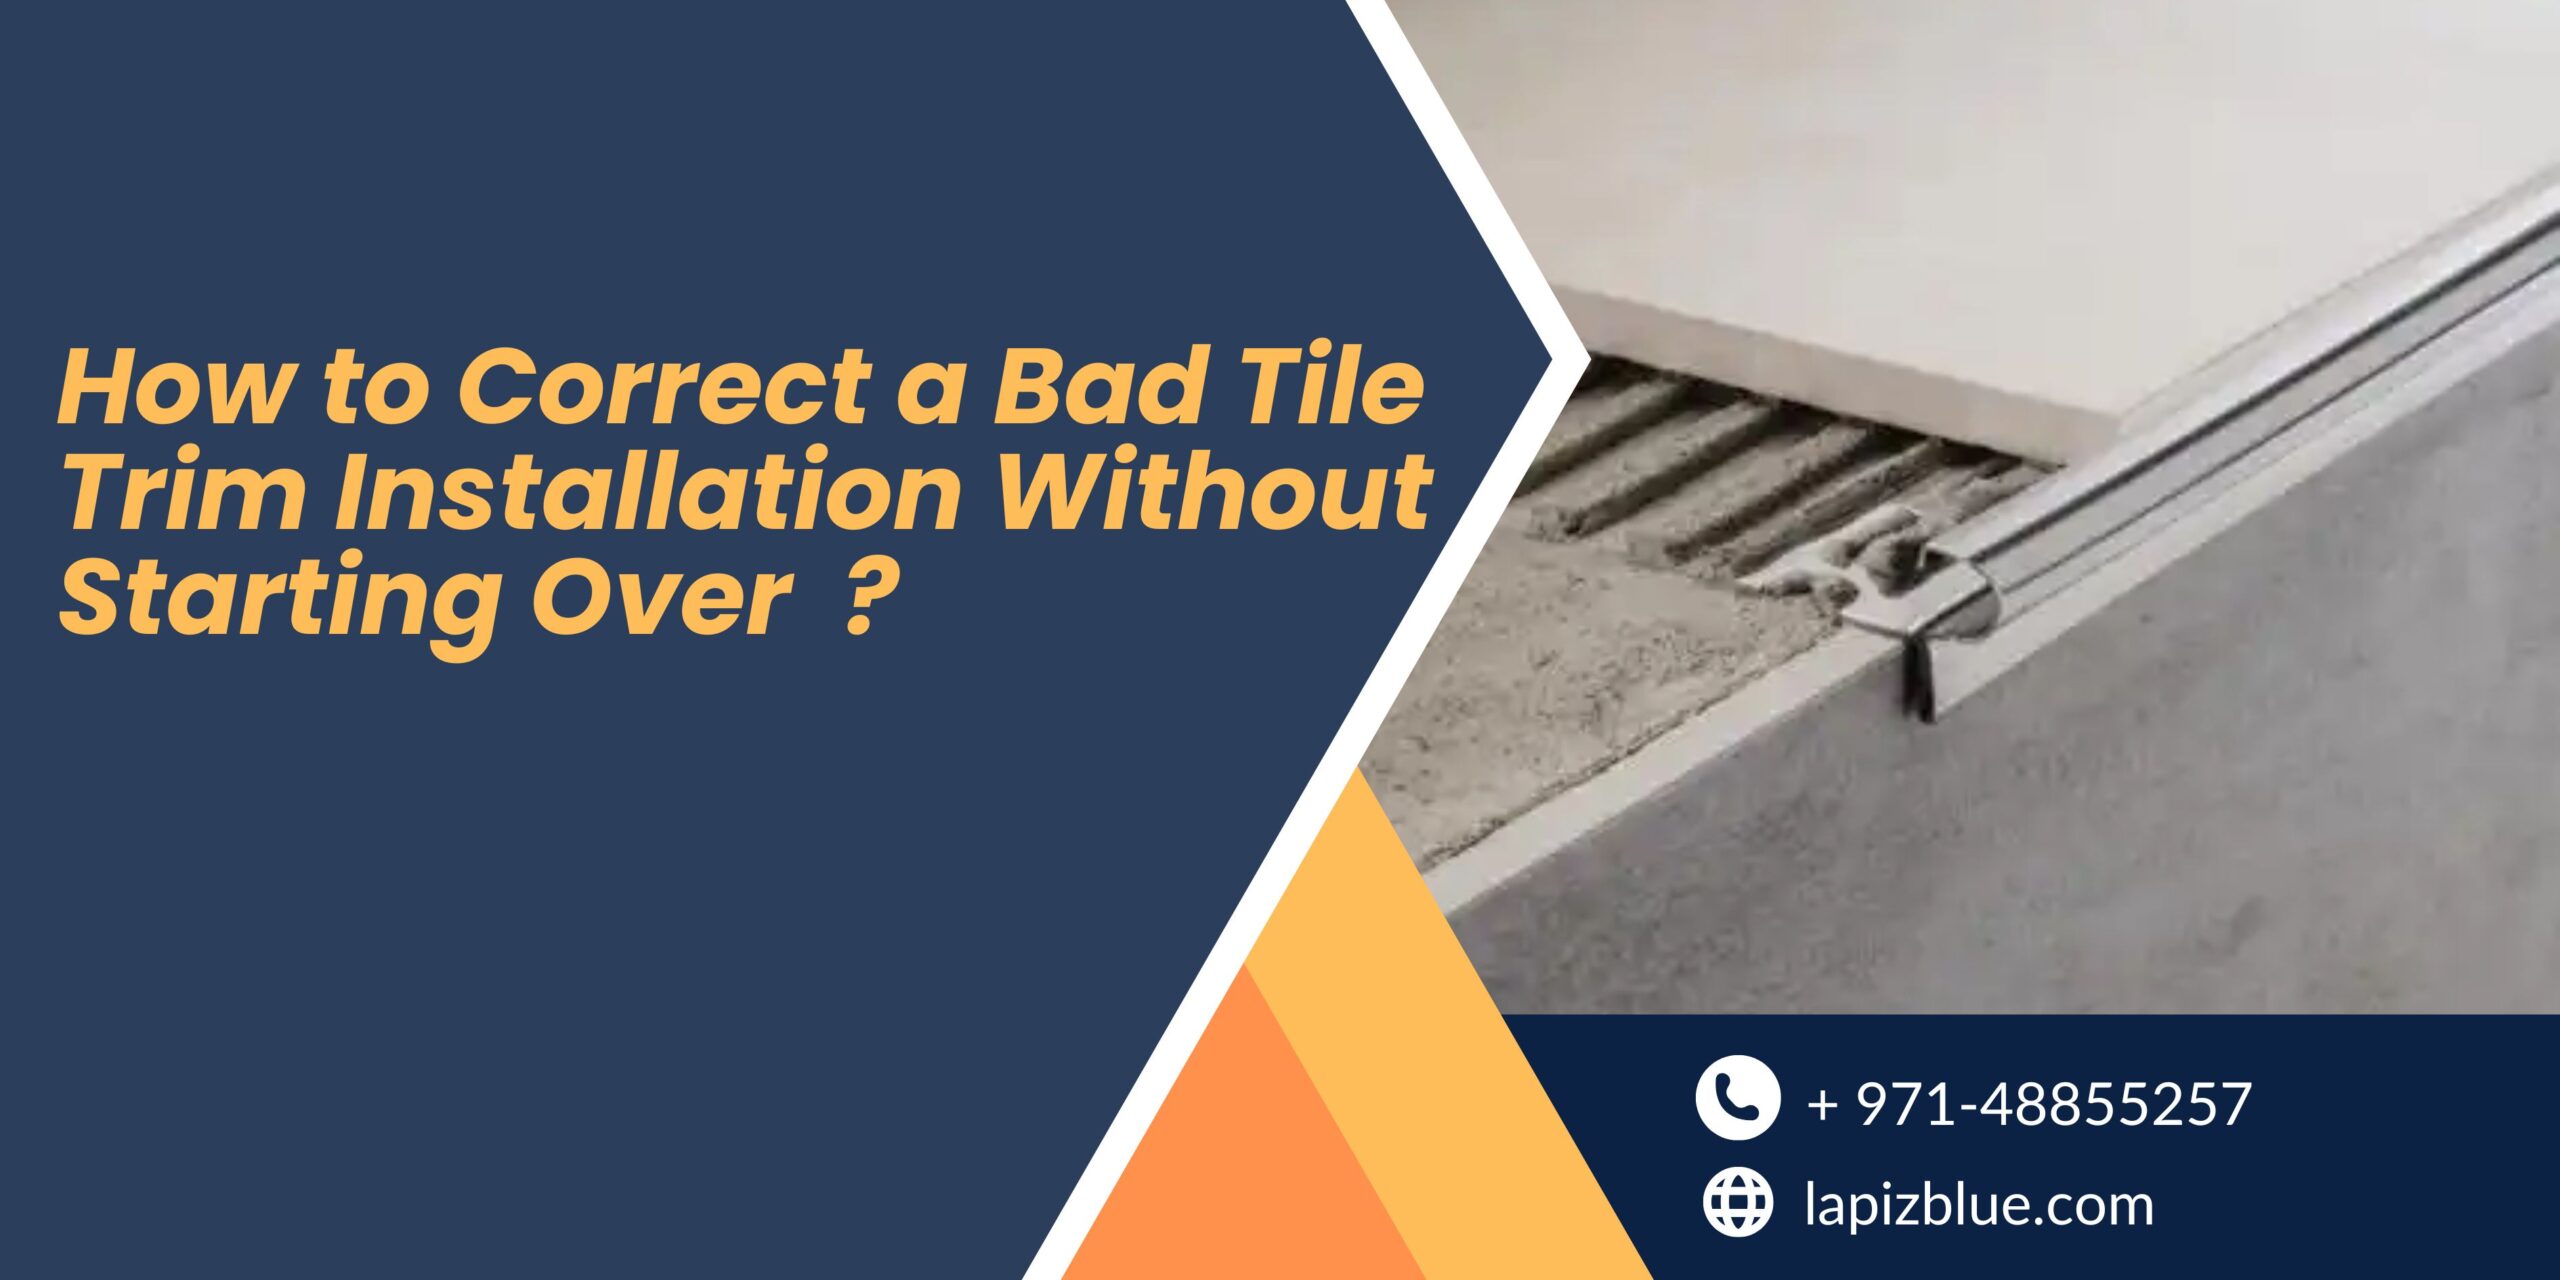
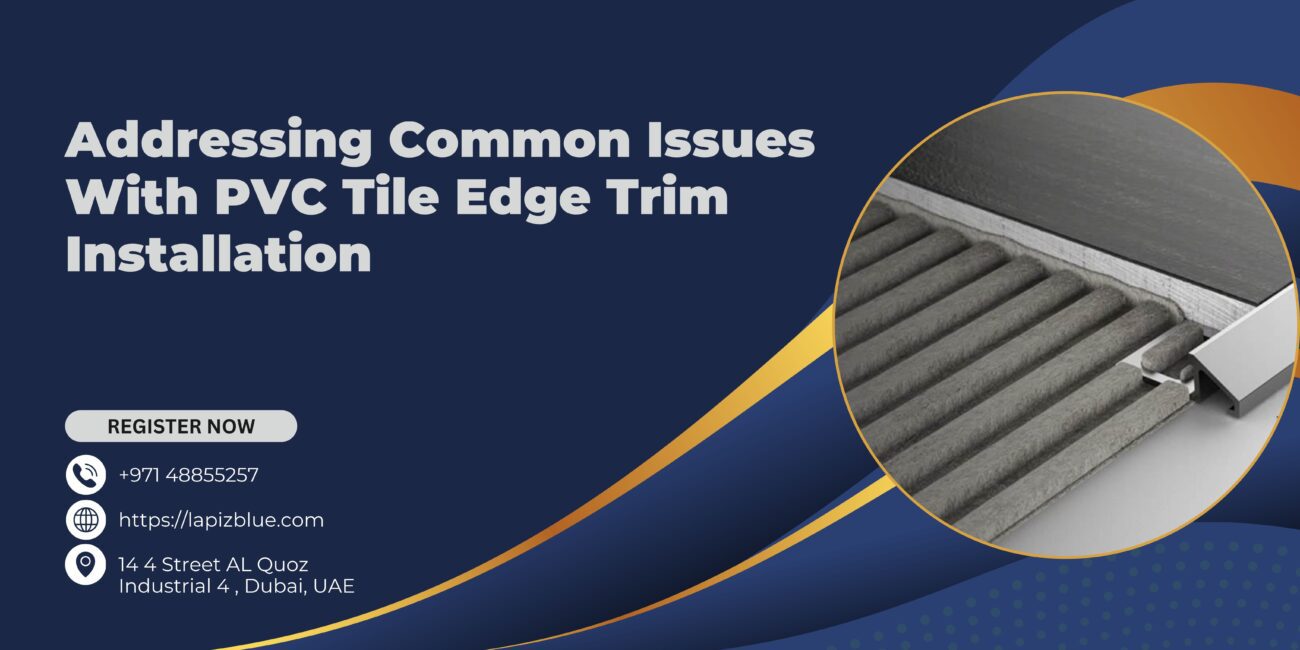
You’ve finished tiling, stepped back to admire your work, and then—your heart sinks. The tile trim is misaligned, uneven, or worse, gaping from the surface. Reinstalling everything isn’t just impractical; it’s time-consuming and costly. Fortunately, there are ways to correct a bad tile profile installation without tearing everything down.
This guide provides targeted solutions for different tile trim mistakes, helping you achieve a professional finish without starting over.
Common Tile Trim Installation Issues and How to Fix Them
1. Uneven Trim Height
One common issue is uneven trim height, where the trim either sticks out too much or sits too low compared to the tile surface. To correct this, carefully remove excess adhesive behind the trim using a multi-tool with a carbide blade if it’s too high, or apply a thin layer of high-strength adhesive if it’s too low, pressing it into place until it aligns with the tile. Securing it with painter’s tape until it sets can ensure it stays in position. If the difference is minor, color-matched caulk can create a smooth transition and make the variation less noticeable.
2. Misaligned or Crooked Trim
Another frequent mistake is misaligned or crooked tile profile, which makes the entire installation look sloppy. A heat gun can soften the adhesive behind the trim, making it easier to adjust without causing damage. A rubber mallet and a wooden block can help tap the trim into place gently, ensuring precision. If the misalignment is severe, carefully cutting away the affected adhesive and repositioning the trim with fresh adhesive will provide a long-term fix. Before the adhesive fully sets, using a long level to check alignment ensures the best results.
3. Gaps Between Trim and Tile
In some cases, gaps between the trim and tile become visible due to poor adhesive application. Moderate gaps can be filled by applying a thin layer of thinset behind the trim with a small putty knife and pressing it firmly into place. For smaller gaps, a color-matched silicone caulk can create a seamless finish, while larger spaces may require grouting with a fine grout float to ensure durability. To achieve a polished look, a caulk finishing tool can help smooth out the application.
4. Trim Sticking Out Too Much
A related issue is when the trim sticks out too much, creating an awkward, bulky appearance. For plastic or aluminium tile trims, a fine-toothed hacksaw or oscillating tool can carefully shave them down. If the tile profile is ceramic, using a diamond hand pad or an angle grinder with a polishing wheel can reduce its profile without damaging the surrounding tile. To blend edges seamlessly, applying color-matched caulk or paint can help create a uniform finish. Sanding slowly and carefully is essential to avoid chipping the tile edges.
5. Loose or Weak Trim Adhesion
Perhaps the most frustrating problem is loose or weak trim adhesion, where the trim wobbles or shifts instead of staying firmly in place. Injecting thinset adhesive into gaps using a syringe or small applicator tool can strengthen the bond without disturbing the surrounding tile. In cases where thinset isn’t sufficient, applying small amounts of construction adhesive behind the trim and pressing it into place will create a more durable hold. Securing the trim with painter’s tape for at least 24–48 hours ensures a strong, lasting bond. Working in small sections allows for better control and precision.
Upgrading Your Tile trim for a More Elegant Look
If your installation issues are more than minor imperfections, this could be an opportunity to upgrade to a higher-quality decorative tile profile that enhances the overall aesthetics of your space.
One excellent option is CERFIX PROLIST, a premium range of decorative listello tile trims designed specifically for wall coverings. Whether your current trim is outdated or doesn’t align well with your tiles, switching to a refined decorative trim like Cerfix Prolist can instantly elevate the look of your tiled walls.
Why Consider CERFIX PROLIST for Your Fix or Upgrade?
-
Decorative and Functional: Creates elegant, high-end decorative effects on ceramic wall coverings.
-
Versatile Material Options: Available in steel and aluminium, catering to different design needs.
-
Multiple Finishes: The aluminium range offers a variety of finishes, including the X Design line, featuring five modern colours in a special scratched finish.
-
Perfect for Any Setting: Whether in residential or public spaces, Cerfix Prolist integrates seamlessly into any tiled environment.
If your current installation lacks precision or visual appeal, replacing it with Cerfix Prolist ensures a sleek, polished finish without the need for an expensive redo.
Preventing Tile Profile Mistakes in Future Installations
To ensure a flawless installation in your next project, follow these key guidelines:
✔ Choose the right trim size—it should match your tile thickness.
✔ Dry-fit the trim before applying adhesive to check alignment.
✔ Use a long level to ensure straight edges.
✔ Apply thin set evenly to prevent gaps and weak adhesion.
✔ Secure trim with painter’s tape while it sets for a perfect bond.
Final Thoughts
A bad tile trim installation doesn’t have to ruin an otherwise well-executed tiling job. Whether dealing with misalignment, gaps, or uneven heights, targeted corrections can restore a professional look without starting over.
For those seeking premium tile trim solutions, Lapiz Blue is the leading supplier of Profilpas UAE tile trims, offering a diverse selection of high-end decorative profiles for residential and commercial spaces. Designed for durability and elegance, Profilpas UAE tile trims ensure a flawless, long-lasting finish.
With a commitment to quality and design, Lapiz Blue ensures that every detail in your tiling project meets the highest standards.
Need expert advice or high-quality tile trim solutions? Contact us today and let us help you achieve a flawless finish for your next project!

